Create Your First Expert
Walk through naming, configuring, and saving a new expert.
An expert in Respeak is an AI assistant that answers questions based on the knowledge you provide. This article shows you how to create your first expert.
Create an Expert
Start creating a new expert
In the sidebar, click Create expert. The button is located above the expert list.
Choose a name
A dialog titled New expert opens. Enter a name for your expert (up to 60 characters). Choose a descriptive name that reflects what the expert is responsible for - for example "HR Questions" or "Building Permits".
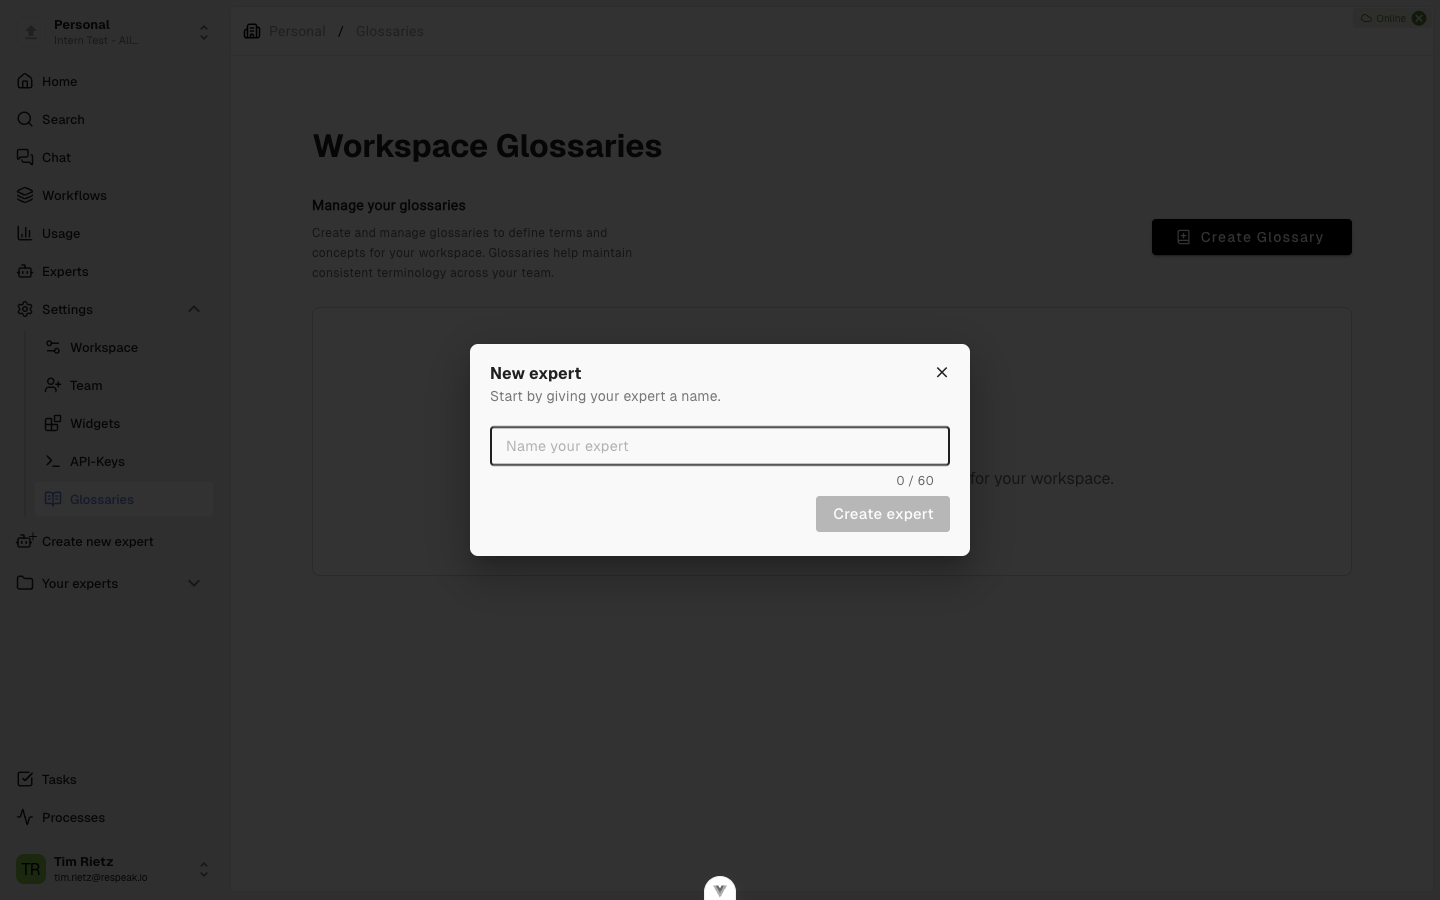
Confirm creation
Click Create new expert. Your expert is created and you are automatically taken to the knowledge management page.
What Happens After Creation?
After creation your expert is still empty - it has no knowledge to draw on yet. In the sidebar you will see an orange folder icon next to the expert name (labeled "Incomplete").
For your expert to answer questions, you need to add knowledge sources in the next step - for example documents (PDF, Word, etc.), websites, manually written entries, or integrations with other systems. You can learn how to do this in the "Adding Knowledge" articles.
Optional Settings
You can change your expert's settings at any time. Hover over the expert name in the sidebar, click the three-dot icon, and select Settings.
In the settings you can rename your expert or add a description.
Answer without expert knowledge
By default, your expert only answers questions it can answer based on its knowledge sources. If you enable Answer without expert knowledge, the expert can also respond when the question is not covered by the available sources. In that case it uses its general language model knowledge. Keep in mind that these answers may be less reliable than source-based answers.