Manage the Glossary
Define terms so the expert uses consistent terminology.
Glossaries let you define important terms for your workspace. Your expert draws on these definitions when answering questions - ensuring that terminology is always used consistently and correctly.
What Is a Glossary For?
Imagine your organization uses specific abbreviations or specialized terms that are not widely known. If you add these terms to a glossary, the expert can take them into account when answering questions and use the right terminology.
You can create as many glossaries as you like - for example, one for technical terms and another for product names.
Open the Glossary Overview
Open Settings
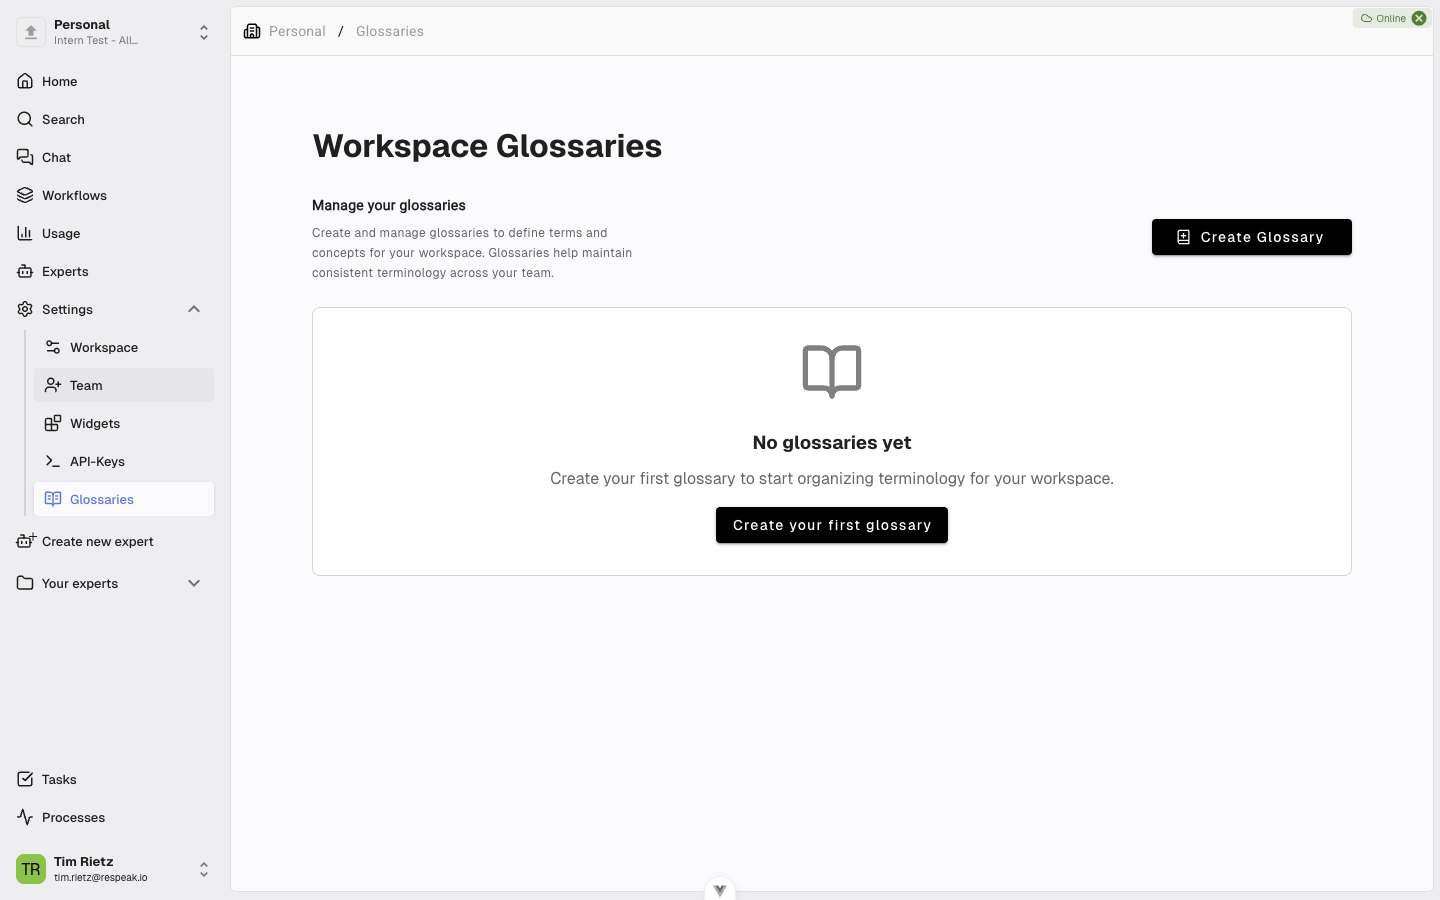
Open your workspace and click Settings in the sidebar.
Select Glossaries
Select the Glossaries section.
You will see a table listing all existing glossaries. For each glossary, the table shows the name, description, number of terms, visibility, and creation date.
Create a New Glossary
Start creation
Click the Create Glossary button.
Enter name and description
Enter a name (e.g. "Technical Terms" or "Product Glossary"). Optionally add a description explaining what kind of terms this glossary contains.
Set visibility
Choose between Public (all workspace members can see and use this glossary) and Private (only you and admins can view it).
Create the glossary
Click Create.
Option: Only allow term suggestions
When creating a glossary, you can enable Only allow term suggestions. When this is active, invited members can only suggest new terms. An admin must approve each term before it becomes active.
Add Terms
Open the glossary
In the glossary overview, click the glossary you want to open (or click the list icon next to it).
Create a new term
Click Add Term and fill in the required fields: the Term itself (the word or abbreviation), a clear Definition, and the desired Status (Active, Draft, or Archived).
Save the term
Optionally provide additional details such as synonyms, related terms, an example usage, or a source URL. Then click Create.
The new term now appears in the glossary's term list.
Search and Filter Terms
Above the term table you will find a search field and a status filter. Use them to look up specific terms or to display only active, draft, or archived entries.
Edit a Glossary or Term
To edit a glossary (name, description, visibility), click the pencil icon next to the glossary in the overview. To edit a term, click the entry in the term list or click its pencil icon.
Delete a Glossary or Term
To delete a glossary, click the trash icon next to it. To delete a single term, click the trash icon next to the term in the term list.
When you delete a glossary, all terms inside it are permanently removed. In both cases, you will be asked to confirm before anything is deleted.